GDC2018でDirectX Raytracingが発表されたようです。
実験段階のSDKが公開されています。
http://forums.directxtech.com/index.php?topic=5860.0
今日帰ったら,本の執筆の息抜きとしてちょっと触ってみようかなと思います。
GDC2018でDirectX Raytracingが発表されたようです。
実験段階のSDKが公開されています。
http://forums.directxtech.com/index.php?topic=5860.0
今日帰ったら,本の執筆の息抜きとしてちょっと触ってみようかなと思います。
こんにちわ,Pocolです。
牛歩ですが,頑張って執筆作業やっています。
先日,会社で勉強会やるために資料を作ったので,折角だから公開しようかなと思いました。
オリジナル版の資料は320枚程度あるのですが,いくつか外に出せないものとかが混じっているので,
ちょっと手を加えて編集した資料をアップロードしました(それでも237枚あります)。
もし良かったら,見てみてください & 間違いがあったら教えてください!
明けましておめでとうござりまする。
本年度もProject ASURAをよろしくお願い致します。
昨年は長年勤めたS社を退社しまして,ゲームプログラマーになりました。
相変わらずS社を退社しても作っているのはライブラリとかエンジンとかと言われる類のものですが,
現代的な画を目指して,ある程度裁量を持たせて頂いて自由にプログラムさせてもらっていて,
本当に感謝しています。
会社変わるだけでこれだけ違うものかと…。
また,長年離れて失っていた現代的な3DCGへの意欲も復活しつつあります。
今年の抱負ですが,
「まずは昨年出版できなかった本を出版させたい!」
…というのが第一目標ですかね。
第二目標としては今作っているゲームをちゃんと世の中に出せるような形にしたいです。
第三目標としては,エフェクトライブラリ&ツールを完成させたいですね。
実はちまちまと趣味でライブラリとツールをコソコソ作っていまして,(社内で作ろうとすると露骨に嫌な顔をされるので…)
前の職場でも結局(まともに使える)エフェクトツールが無くて困っていたりや,
HDRTV対応などで見た目が結構変わるという問題がちょっとずつ出ていまして,
それを改善するべくエフェクトツールの設計実装を開始しています。
たぶん,ある程度形になったらオープンソースで公開すると思いますので,
是非ともご協力いただける方は,ご意見ご感想などを頂戴できればと思っています。
昨年度は執筆の関係で,ほぼ更新することがありませんでしたが
執筆完了次第,また更新を再開しようと思いますので
今年もどうぞよろしくお願い致します。
ちょっと早いですが…
今年の振り返りをやっておこうと思います。
今年は6年間勤めていたミドルウェア会社を辞めて,とあるゲーム会社に転職しました。
HLSLからGLSLのクロスコンパイルツール作ったり,立体視やったり,ポストエフェクトのポーティングやったりとか,とあるプロジェクトを抜けてからはそれなりに面白い仕事回してもらいました。
が,仕事としては他に回せるものが無いから仕方なく回してやる!的な感じがしたので,やっつけ仕事だったような気がします。そういったことから「あ、自分ここにいても意味ないんだ。」というのをヒシヒシと感じました。
それが転職する一番の理由だったと思います。会社に残って希望があったり,自己満足できるなら残っていたと思いますが,仕事をやっても何にも満たせるものが無い状況でした。
やはりあのまま残っていても,腐る一方だったので良い選択をしたと思っています。
ちなみに,今はゲームには関わるけどゲームプログラムは書かずに相変わらずライブラリを書いています。
これまで,ミリオンセラータイトル等には間接的ながら関わっていますが,スタッフロールには一度も載せてもらったことが無いので今回でようやく初スタッフロールを経験できそうです。
ちゃんと完成したらどういう感じで載るんでしょうね。完成までまだまだ時間があるので,ちょっとずつブラッシュアップして現代的な画に仕上げていきたいなぁと思っています。
一方残念だった点は,年内に本の出版を果たせなかったことですね。
色々な人に迷惑をかけておきながら,ちゃんと間に合っていないという所が,本当に申し訳ない!というしかないところです。
来年のどっかでちゃんと本屋さんに並ぶように善処していきたいです(年末年始で頑張ります)。
また書籍については,出版間際になったら告知しようと思います。もうしばらくお待ちください。
あとは,レイトレ合宿ですかね…
来年はもうちょっとマシなレンダリング結果を出したいですね。来年やりたいテーマも決まったので,少しずつ進めたいですね。
何か本当最近凄い人ばっかで,ここにいて良いのかな~?と思うこともありますが,たぶん,ここでビビッて尻込みしてしまうとチャンスを逃しそうな気がするので,
へぼいプログラムだろうが何だろうが,恥をかこうがかかまいが,レイトレ合宿は毎年参加するようにしていきたいです!
そんなわけで,皆様良いお年を…。
こんにちわPocolです。
Twitterで呟きましたが,
執筆中の書籍ですが,原稿が全然間に合わず年内の出版を見送りました。
大変楽しみにされている方には申し訳ありませんが,今しばらくお待ちください!!
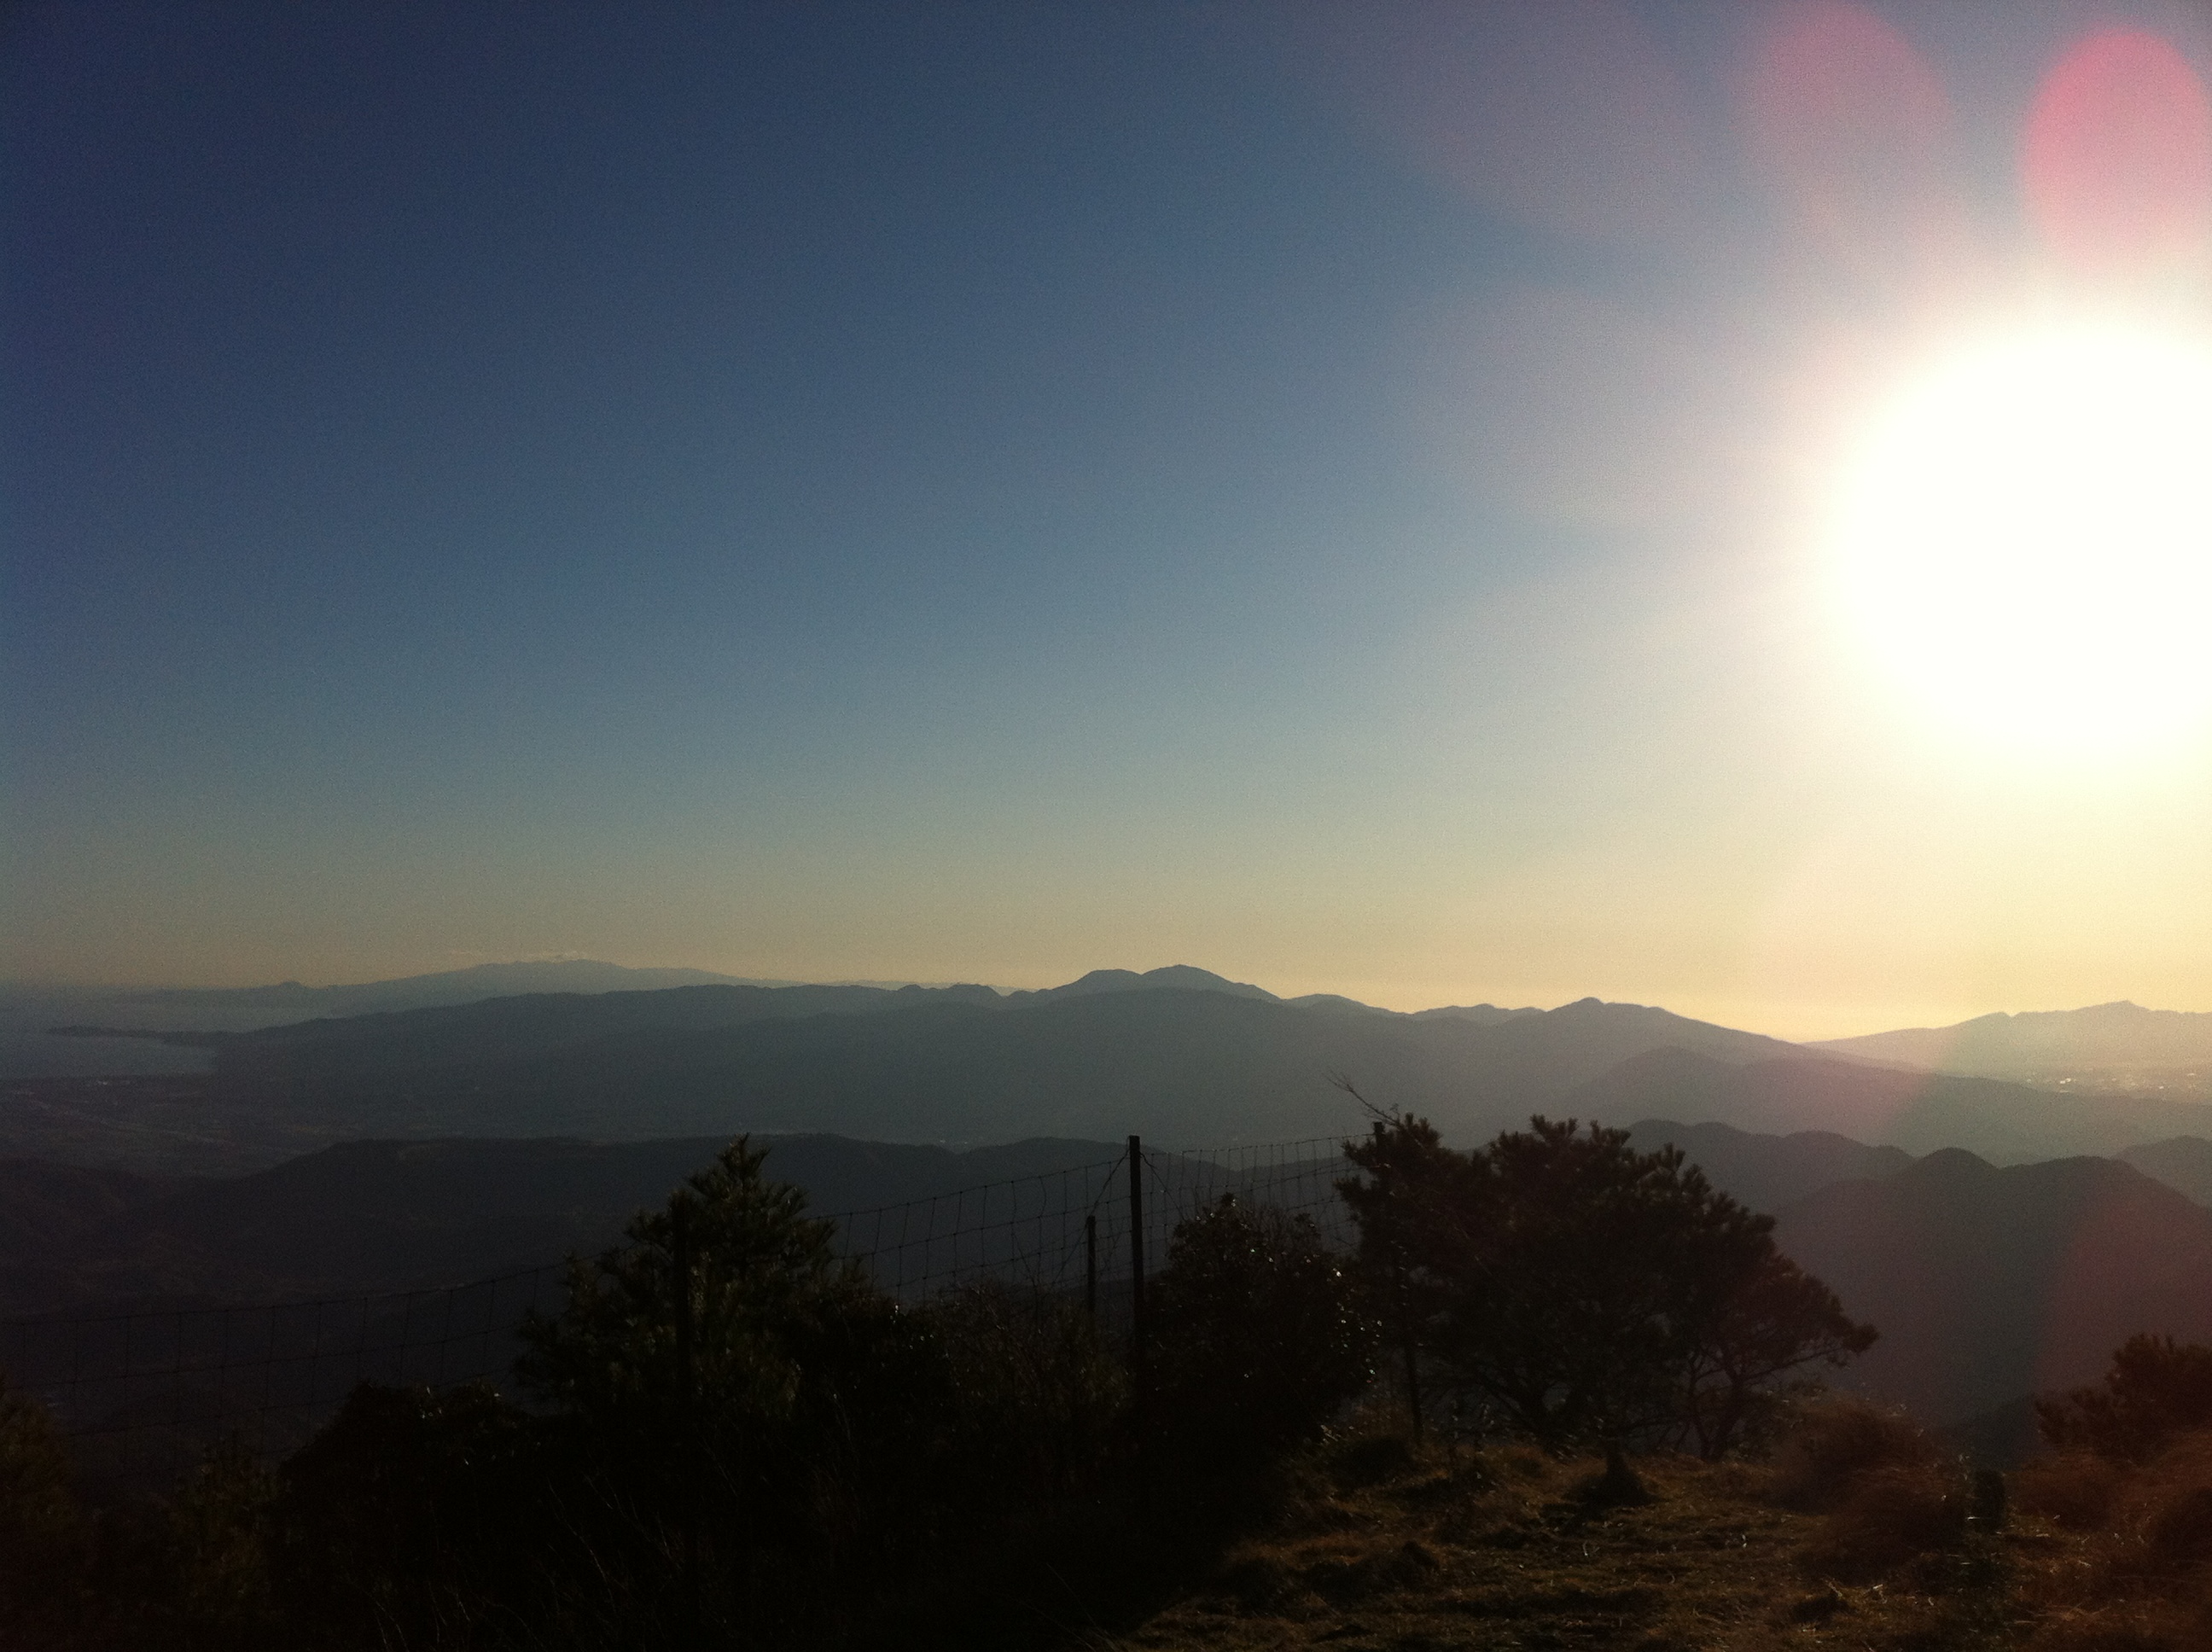
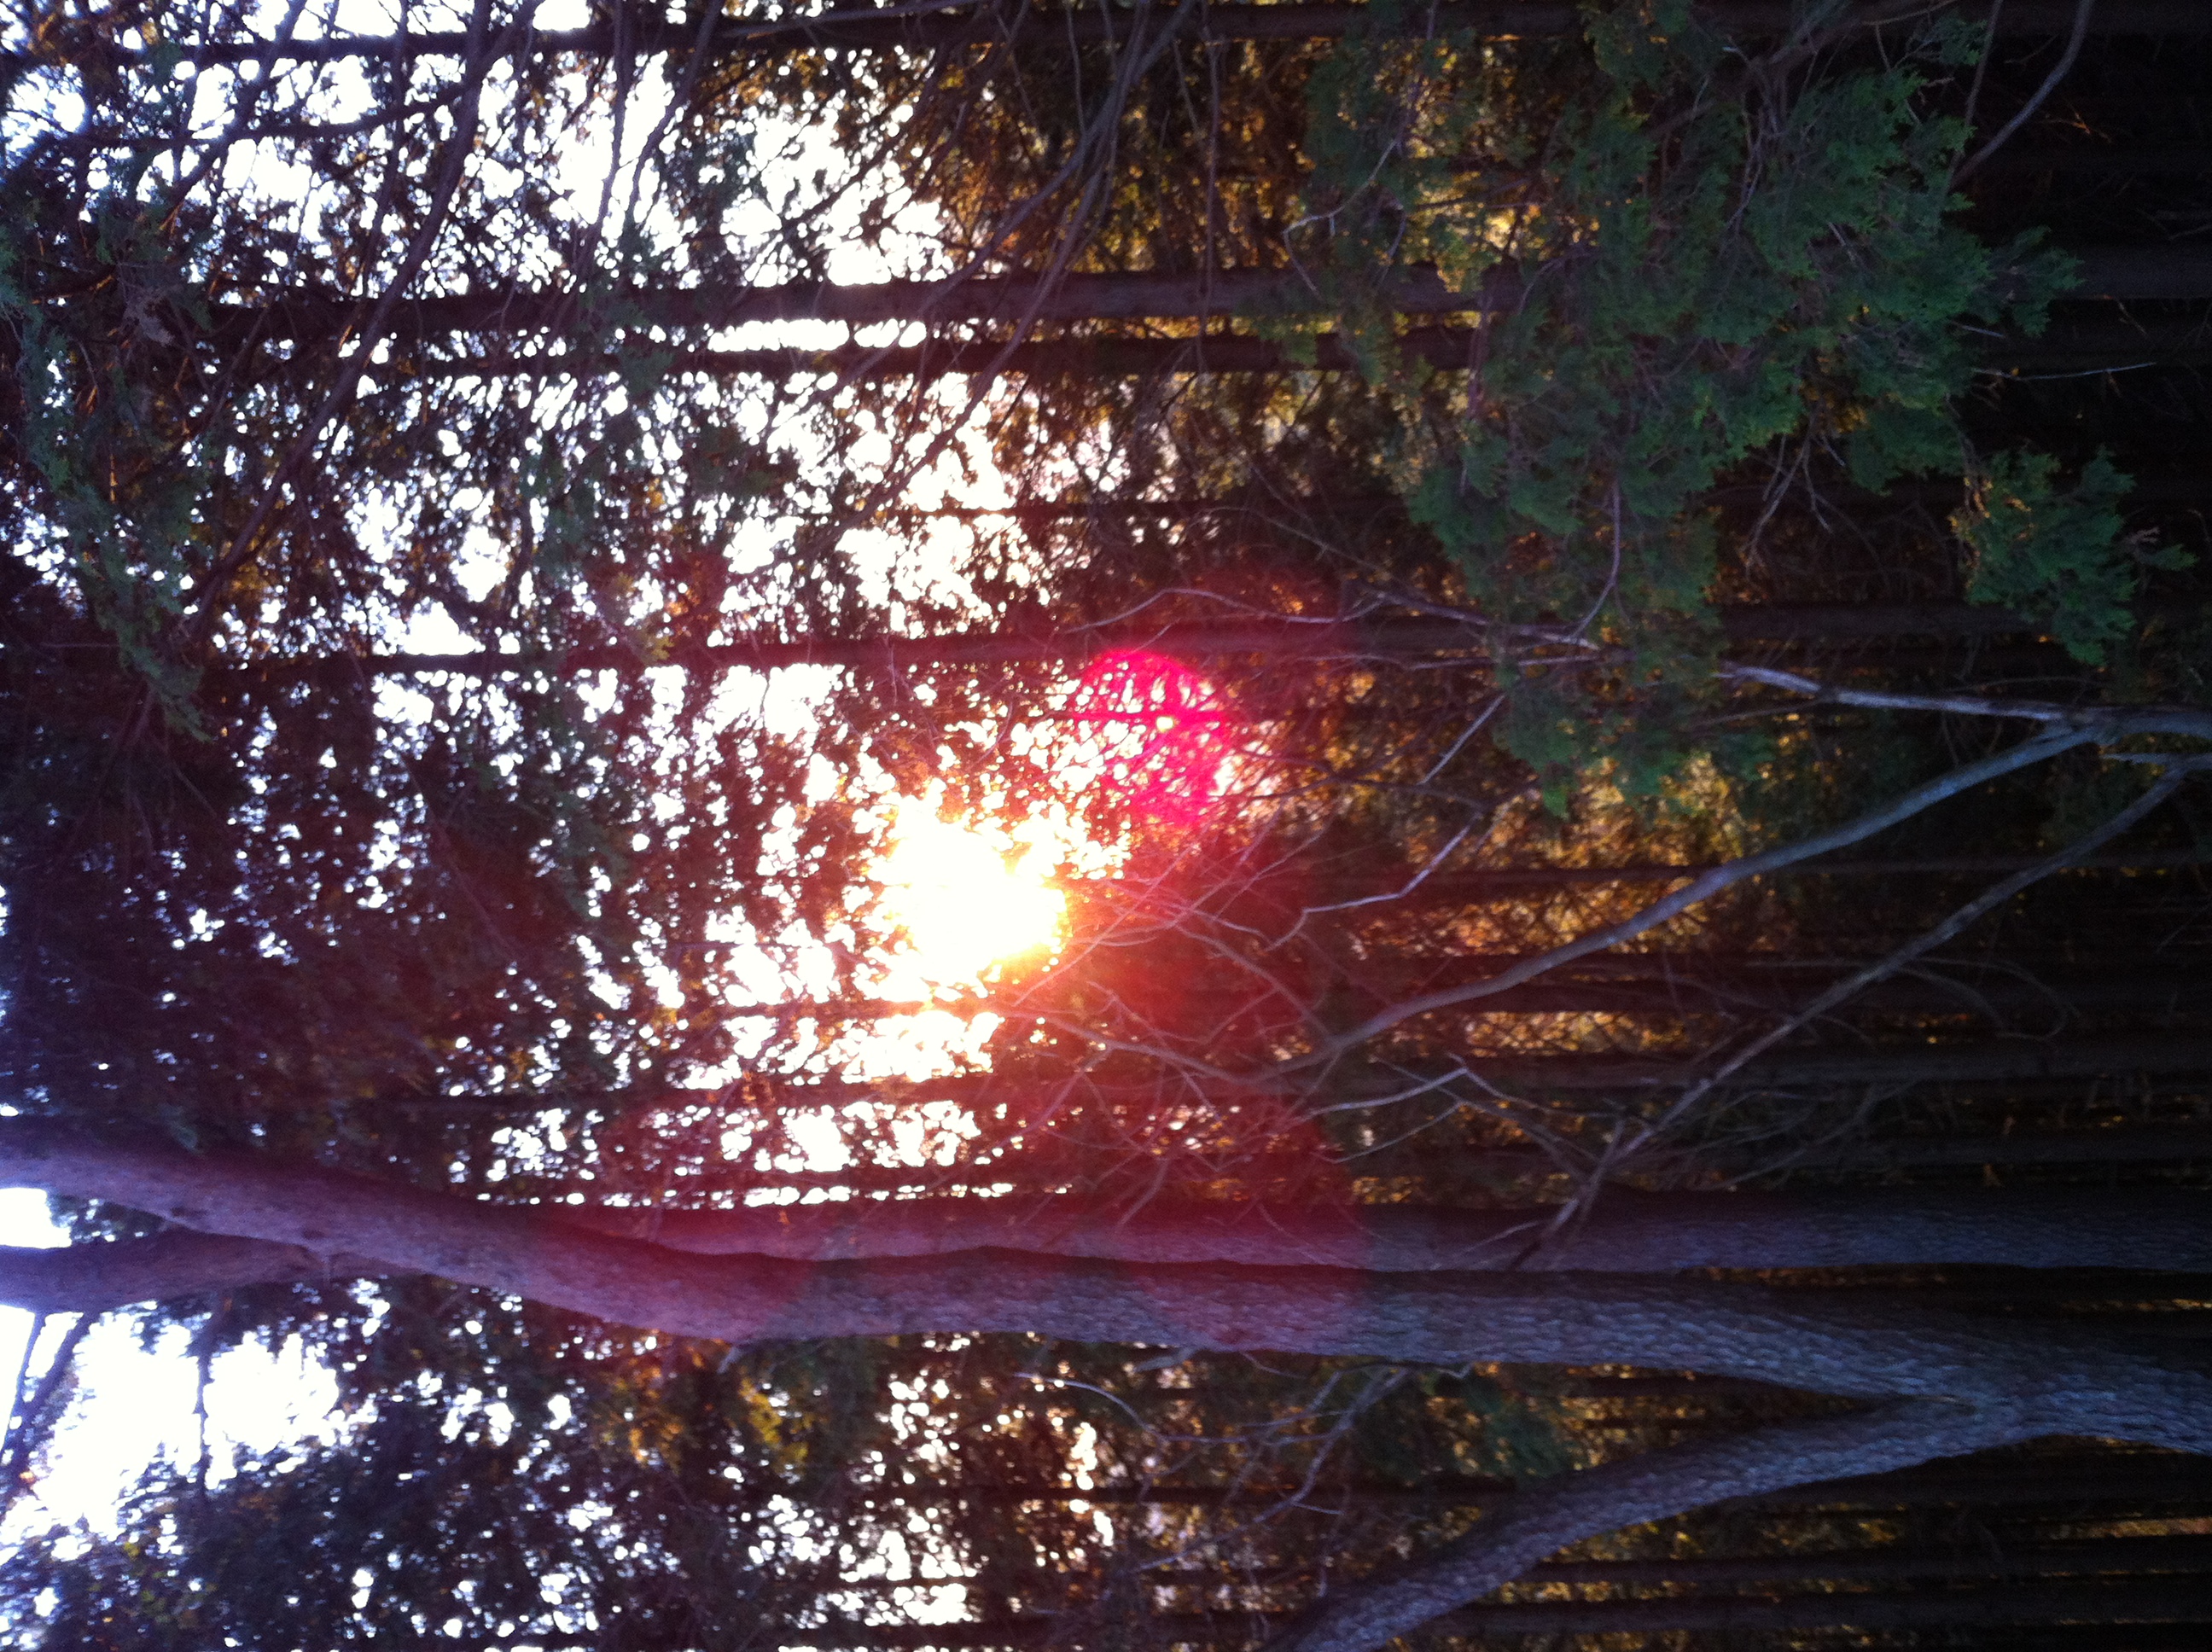
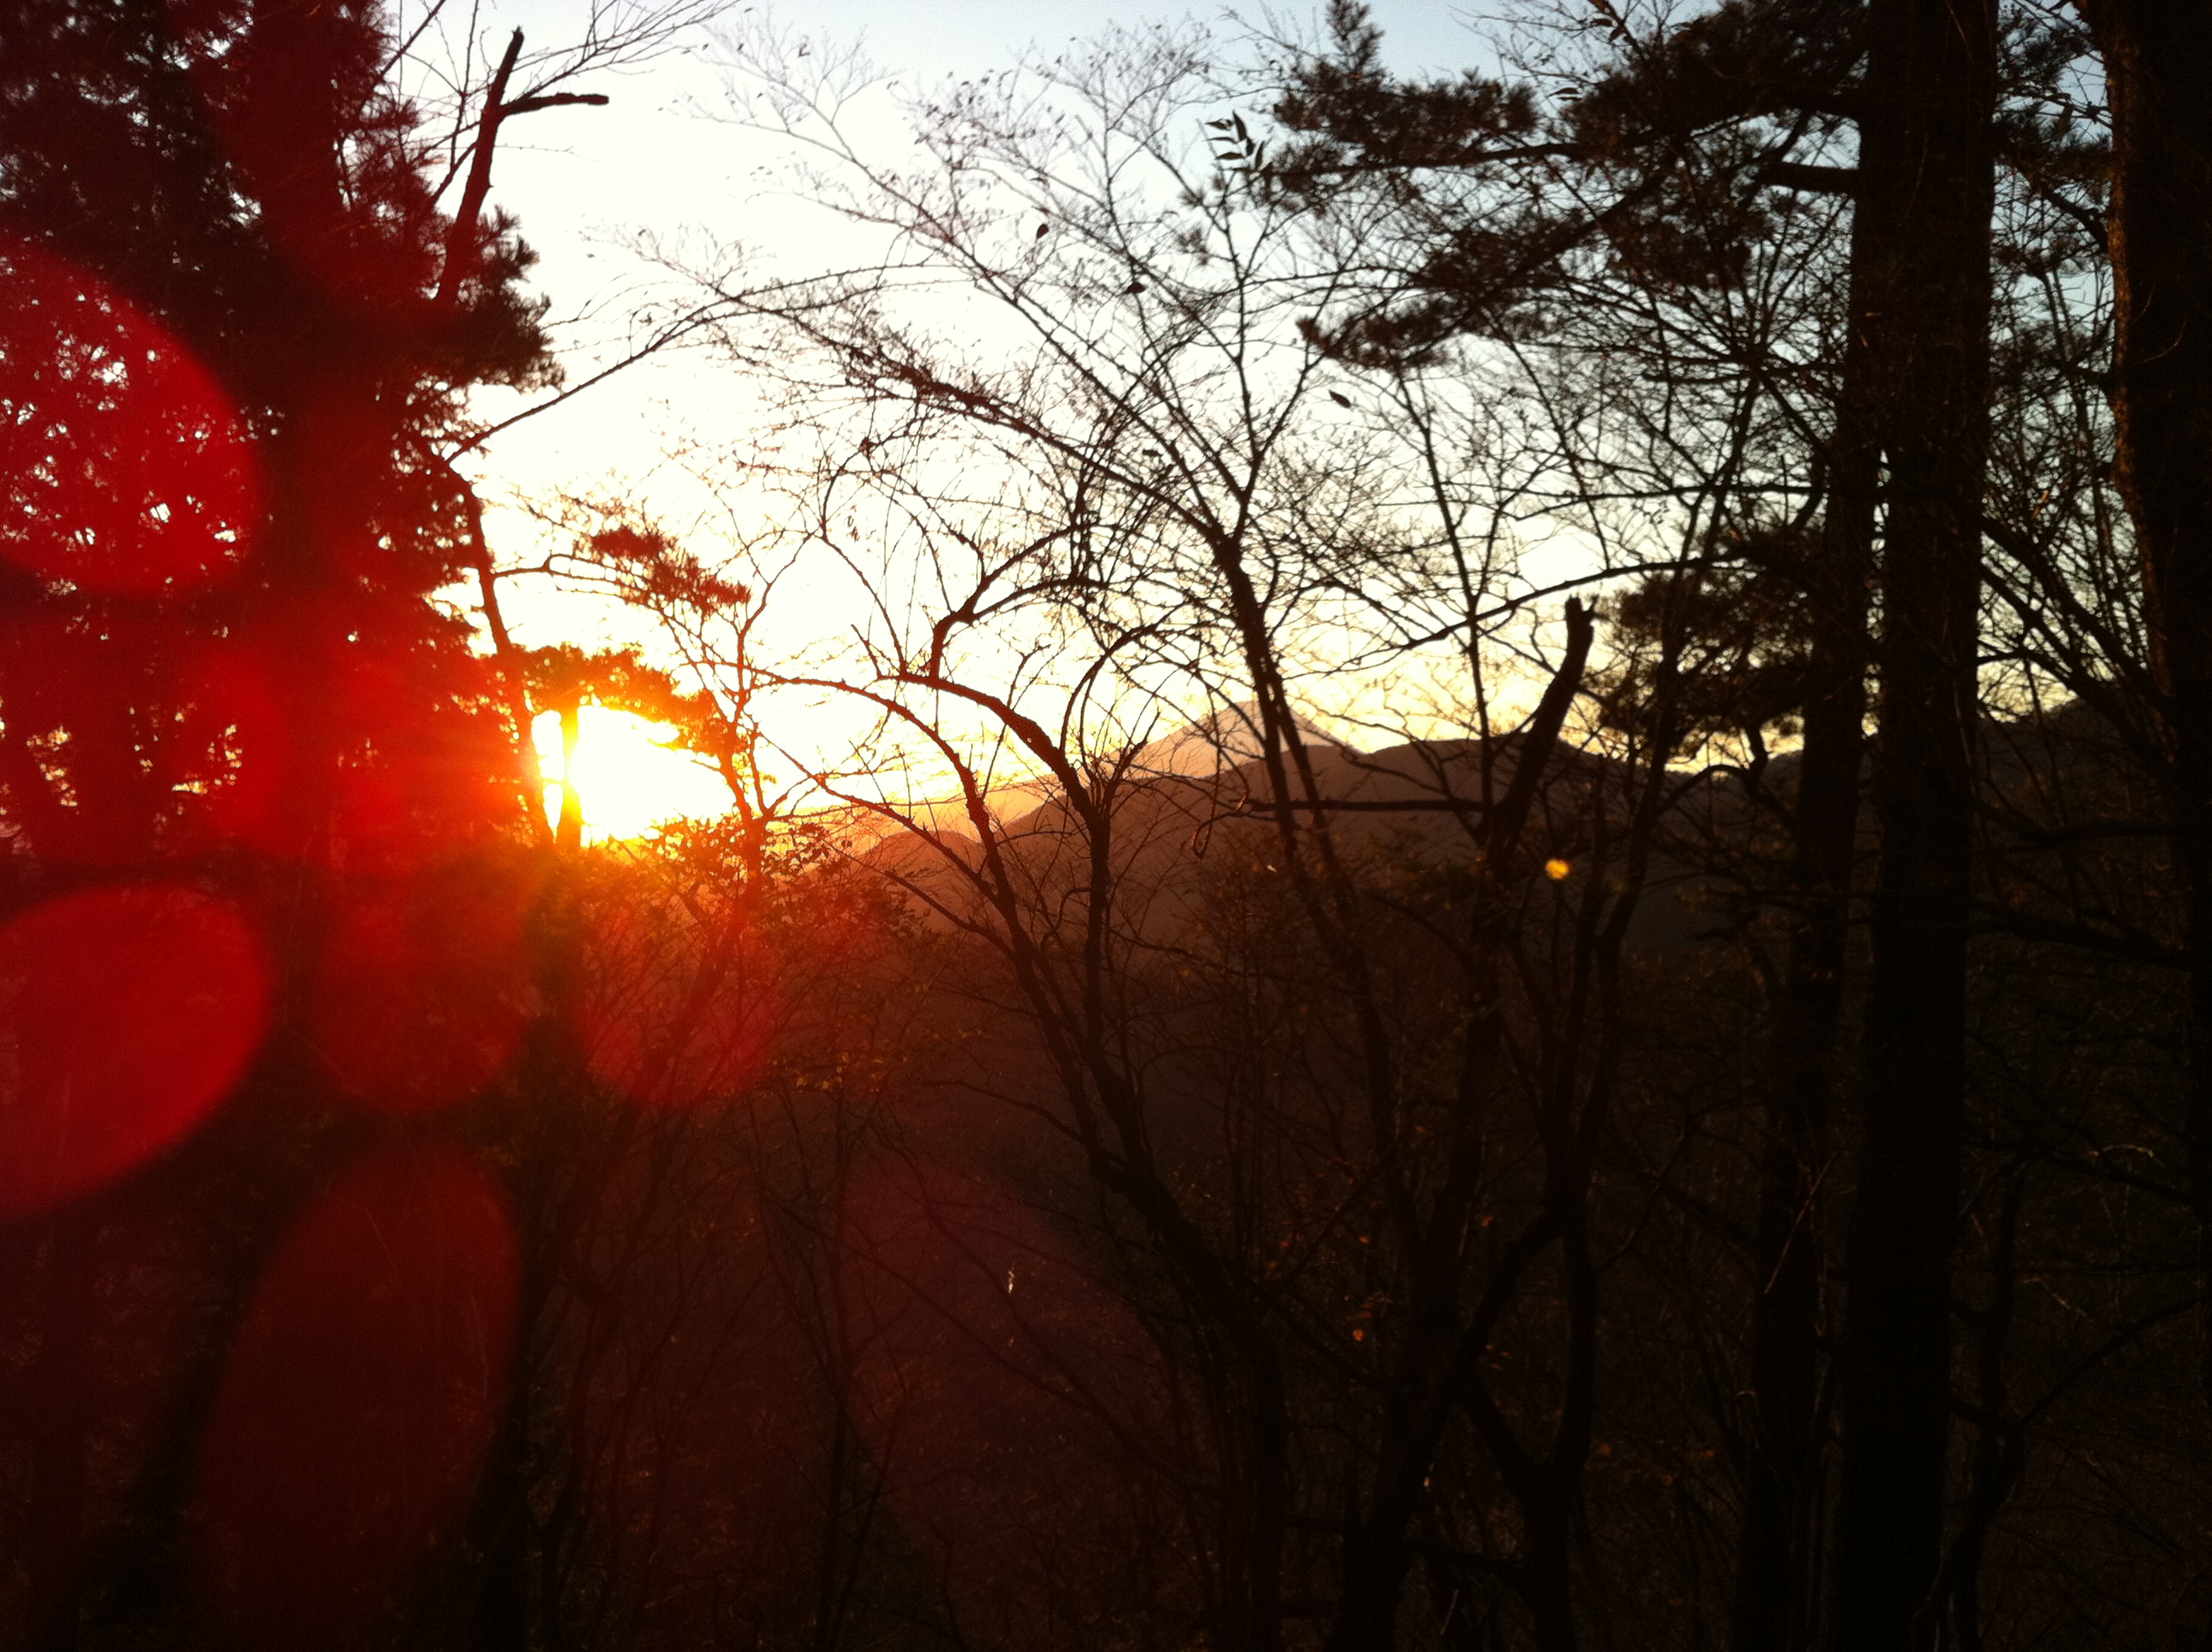
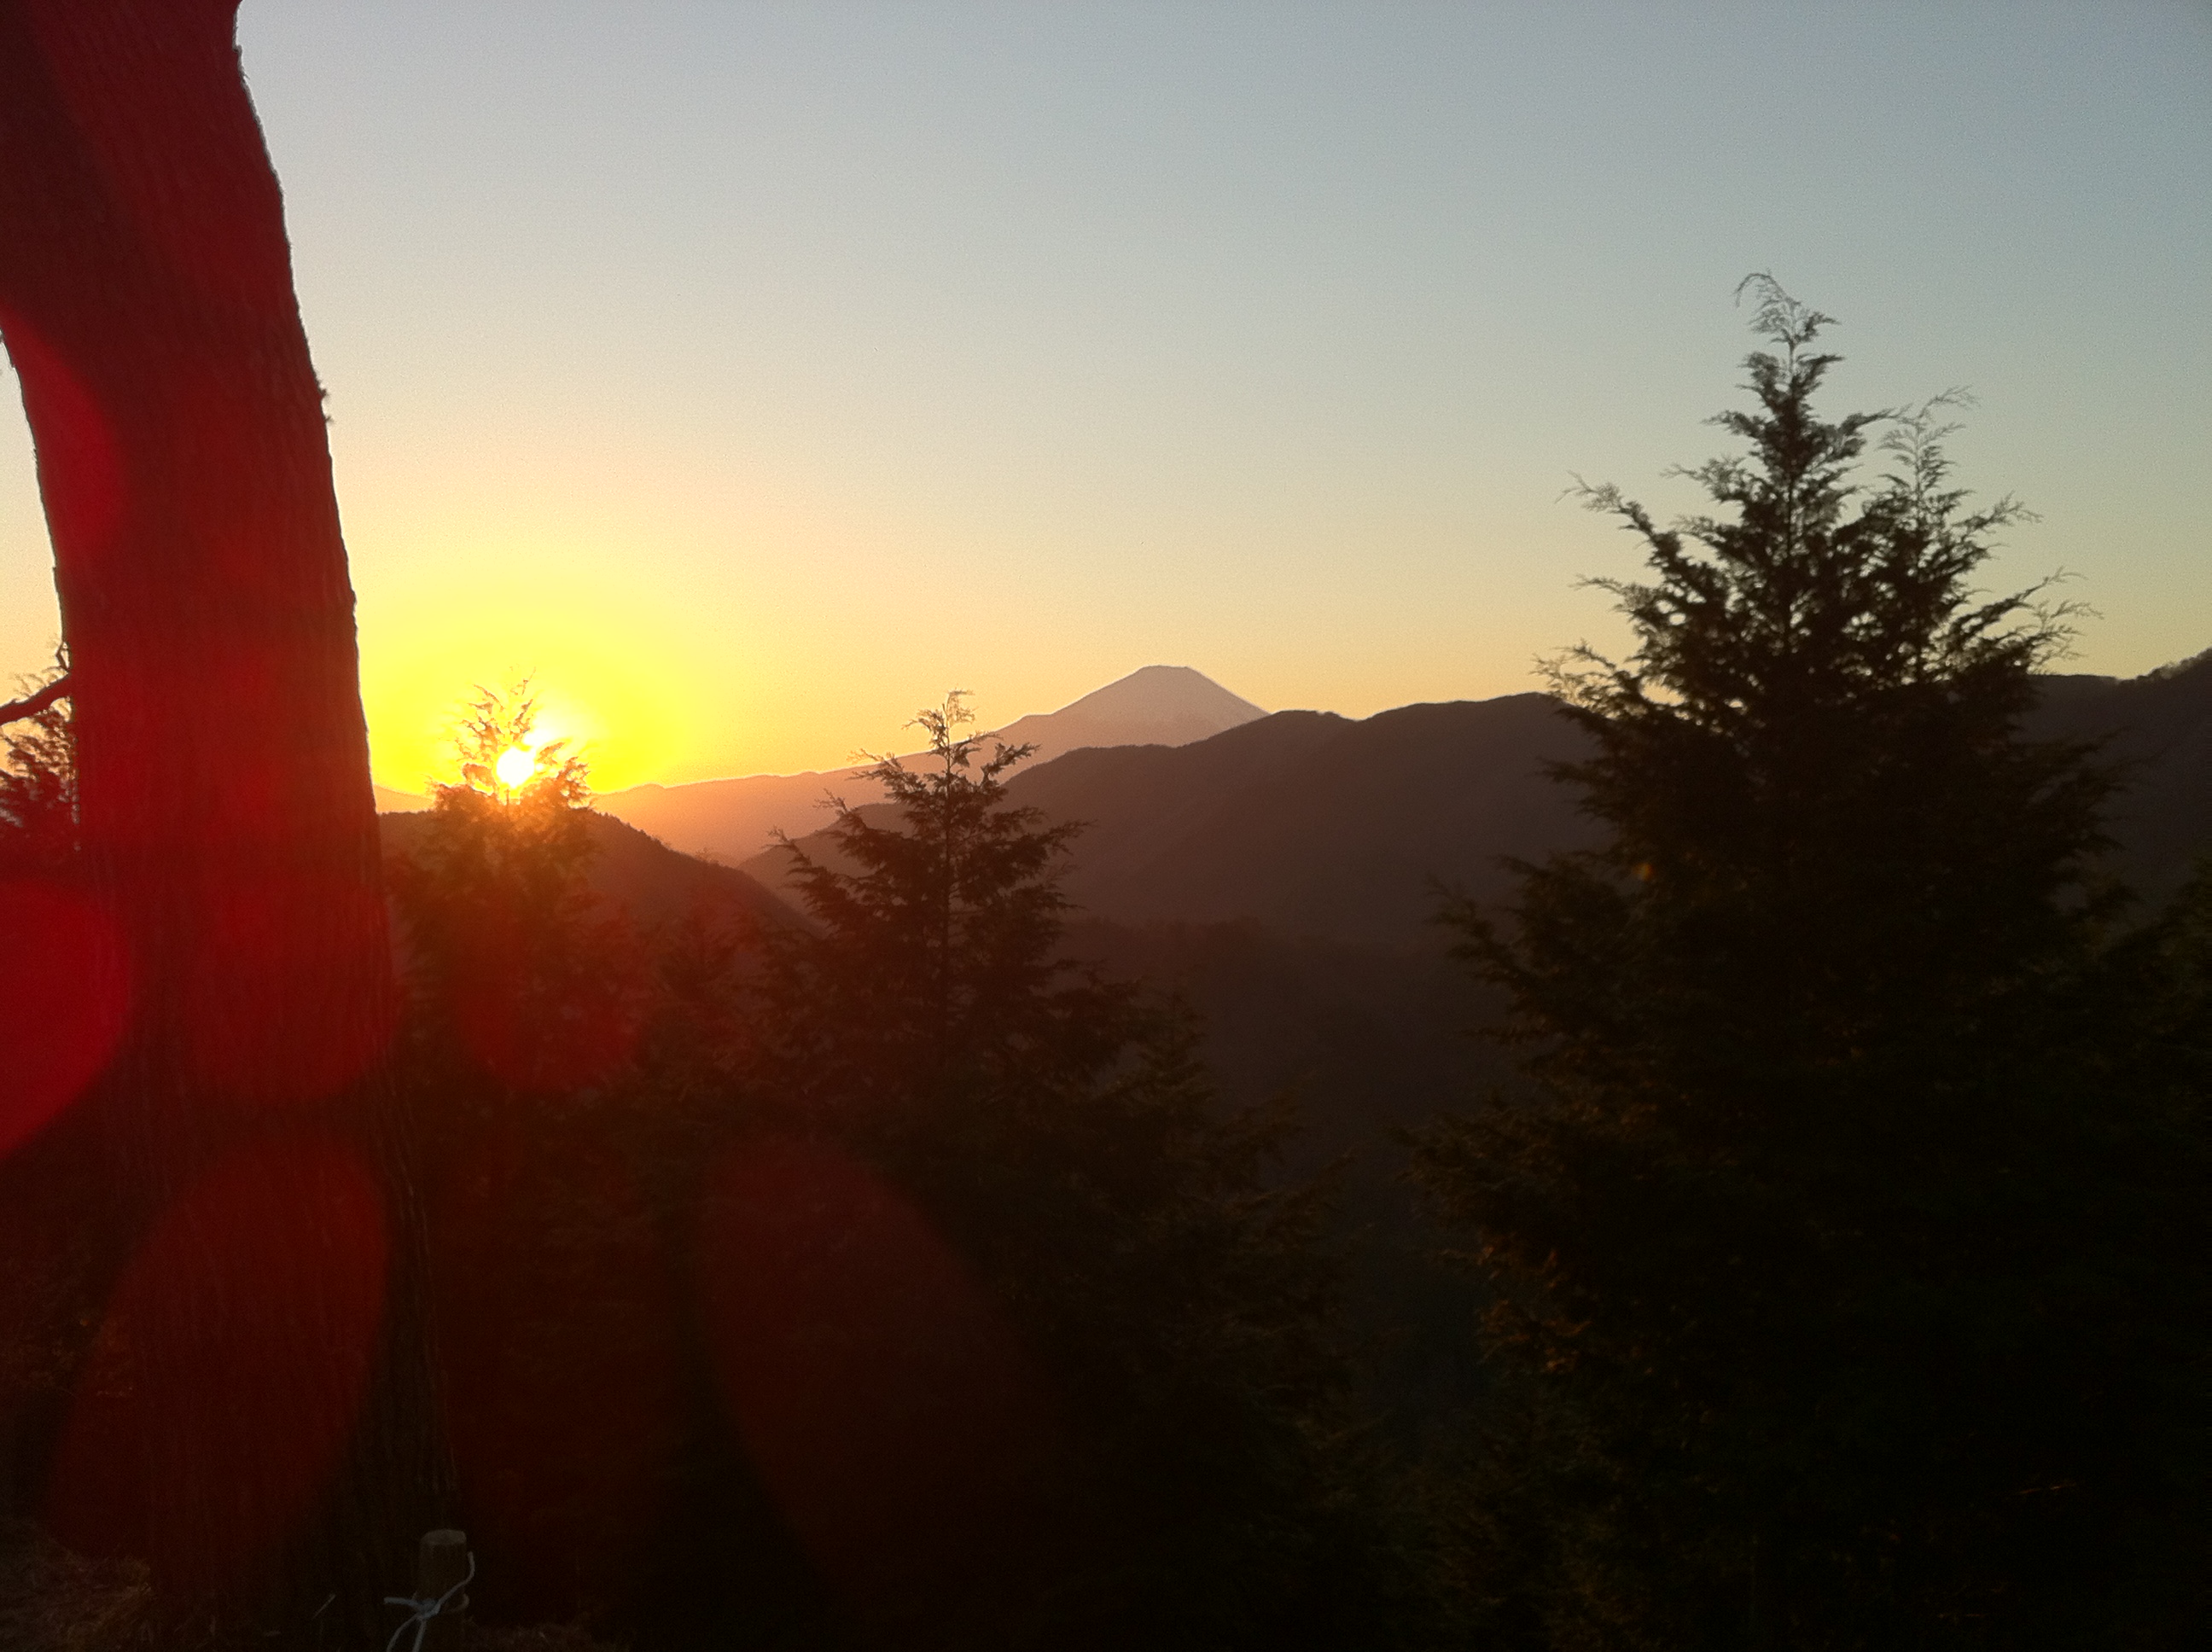
デジカメで撮影した際にレンズフレアとゴーストが出た写真をなんか残しておきたいなぁと思ったので,適当に張り付けてみます。


頭が悪すぎるので,もう一度勉強し直したい。
一人で勉強し直すのは当然やるとして,
他にも勉強し直したい人がいれば,なんかイベントとしてやった方がいいのかね?
以下勉強しなおしたい内容。
・線形代数学
・微積分・極限
・射影幾何
・四元数
・モンテカルロ法
・QEM(Quad Error Metric)
・Progressive Mesh
・交差判定
・IK
執筆活動終わったら,ちまちま勉強し直したい。
今年もやってまいりました。
そうです,レイトレ合宿です。
今日・明日と2日間参加してきます。
今年は作品と呼べるものは作れなかった。
今年の失敗を忘れないようにメモとして残しておこうと思う。
そもそも,レイトレに関しての知識がゼロに等しいので,
去年まで作ってきたプログラムはバグが多く,今年は捨てて来年に向けたベースコードを作成することにした。
…でも提出3日前で下記のような状態。
本日の進捗。黒い画像が表示されるようになりました! pic.twitter.com/UBbvawYBar
— Pocol (@ProjectAsura) 2017年9月6日
何も表示されなくなって,かなり焦る。
原因はわかっているので,そのまま放置して実装を進める。
あと今年の提出2週間前のテストで,起動できない問題にハマった。たぶんDLLが問題。
OpenMP使っているとdllとか必要になるらしいので,脱OpenMP化した。
これで絵がでるはず!
…と思って,試しにレンダリングさせてみる。
何か絵は出たが,どうもおかしい。その時の描画結果が下図。
本日の進捗。乱数更新忘れててバグっています。 pic.twitter.com/LitU1joBsP
— Pocol (@ProjectAsura) 2017年9月7日
OpenMPの時はグローバル変数で参照していたのだが,流石にまずいだろうと思ってスレッドごとに別データにするようにしたら,上記のようなバグが出た。
で,上にも書いてある通りに乱数の更新をしないため,ずっと同じ値を参照していたようで変な結果になっていた。
乱数更新を計算後に入れ忘れていたので,更新するようにしたら解決。焦る焦る。
この時点で,まだメッシュは未対応。これが提出前日です。
ヤバい感じが出てきたので,そろそろメッシュを表示しようと思って対応を始める。
メッシュフォーマットを大きく変えるとめんっどちいので,昨年まで使っていたやつに修正を加えて,表示を試みる。
絵が出た!
進捗。メッシュが表示できるようになりました! pic.twitter.com/d0NFCvBSNa
— Pocol (@ProjectAsura) 2017年9月7日
よくみると,ちゃんと表示されている。
…が,たぶん普通の人には分からないだろうと思って,ネタとして投稿した。
ご覧のように,全く最適なしていないため計算がゲロ重くてレイが全然飛ばない。
結局前日は,BVHを8割ぐらい実装したところで,力尽きて寝た。
提出当日。
実家から自宅に帰る前にBVHを実装。いざ実行!
「…スタックオーバーフローだってさ」
またもや,バグる。
あぁもう!!なんで~
デバッグ時間が取れないまま実家を後にして,自宅に向かう。
移動時間で2時間をロス。
夜飯を買いに行く時間が無いと思ったので,帰り際にコンビニで昼食と夕食を購入し,自宅に到着。
BVHのデバッグを開始。
「うん!さっぱりわからない…」
時間をものすごく使いそうだったので,SAHの実装は諦め中間分割の実装に切り替え。こっちのほうが実装楽だし,時間が無いということで。
で,ようやくBVHが入る。
進捗。BVHをいれてメッシュの交差判定を高速化しました。残り5時間。 pic.twitter.com/G4r7wtRR1m
— Pocol (@ProjectAsura) 2017年9月8日
メッシュの位置を直すのもめんどいので,そのまま。
実装終えたところで,もう時間が5時間を切っている。
ここから,QBVHの実装に入る。
QBVHは一度躓いているので,サクッと実装できた。
で,実行してみると…
「なんか,普通のBVHよりも遅い」
以前実装したときは,BVHよりも確実に速かったのだが,どうも体感的に何も感じない。
で, またバグっていた。衝突判定の実装ミス。
無駄な計算をかなりやっているコードになっていた。焦ってコード書くとろくなことにならないね。皆さん落ち着いて書きましょう。
直したところで,実行。
時間計測するコードを書く時間も惜しいので,レンダリング画像を目視して確認。とりあえず,速くなっているっポイ。
続いて,OBVHの実装に移る。
こちらも,すんなり終わるかと思いきや…。
「なぜかビルドエラーが出る」
なんか,_mm256_cvtss_f32() が無いって怒られる。なぜだ?clangのドキュメントには書いてあるのに。
残り時間も3時間ぐらいになってきたので,ネットの情報を元に自前で関数追加してビルドエラーに対処。
自宅のメインPCがAVXサポートしていないので,サブに使っているノートPCで動作チェック。
とりあえず,絵は出るっポイ。
ここで,残り時間が2時間。
流石に,IBLをMISを入れるのは無理と判断。
最終レンダリング用のアセットをここから探し始める。一応,用意していたアセットはあるんだけども,あんまり見栄えしないのでボツにした。
で,もう時間もなく探している時間もないので適当に基本形状を配置することに。
プログラムが起動できない問題が解決できていないので,ようやくチェックすることに。
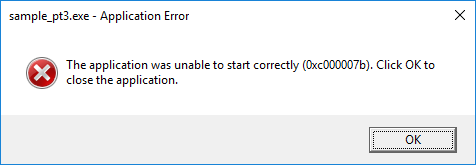
Visual Studioでexe起動時にログ出力されるdllを取り合えず片っ端から,batでコピーして実行ファイルに同梱してみたのだが,上の結果。
とりあえず,エラーを再現するために,Virtual BoxにWindows 7をインストール。
VirtualBoxで動作させてみたら,案の定同じエラーが出た。
で,結局DLLが問題っぽいので,DLLを使わないようにVCのビルド設定で「マルチスレッドDLL」になっている設定を「マルチスレッド」に変更して,軌道を試みる。
「お、出た」
これで,めでたく起動した!
この時点で,残り時間が既に1時間を切っている。
流石にそろそろzip用意しないとまずいので,提出用スライドの作成に入る。
前日に力尽きて寝る前に,色々とページ作っていたけど時間が無いし,今年は負け戦なのでアピールするべきことも無いのでバッサリ省略。
スライド作成中にレンダリングをさせておいて,最新のレンダリング画像を添付。
exeの起動を確認して,急いでzipに固めて提出。
残り時間20分。
レンダリング画像を見ると,やっぱり背景がどうも気に入らないので
HDR画像を差し替えて,シーンファイルも更新。
起動して,1枚目の画像が出力されるところまで確認して,大慌てでzip化して再び提出。
残り4分のところで,提出した。
— Pocol (@ProjectAsura) 2017年9月8日
残り4分だった。
来年はこういうことが無いように,ちゃんと準備したい。
上記で書いた以外にも,画像サイズを変えると描画結果がおかしくなるバグとか色々とあって,
そのあたり直したので,来年はもう少しまともなレンダリングで出来るはず
…であってほしいなぁ。
かなり強引だけど,式番号をフォーマットするやり方。
<script type=”text/x-mathjax-config”>
MathJax.Hub.Config({
TeX: {
equationNumbers: {
autoNumber: “AMS”,
formatNumber: function (n) {return ‘8.’+n}
}
}
});
MathJax.Hub.Queue([“resetEquationNumbers”,MathJax.InputJax.TeX]);
</script>
これで式(8.1)みたいな感じにできる。
簡単なツールを作るのに,ImGuiがかなり重宝してきたので,
これを機にImGuiを使ったライブラリをちょっと作ろうかと思い始めました。
そんなわけで,今すぐ動けるわけではないので,後で実装するために参考プログラムを一覧を書いておこうと思います。
ImGuiを使ったマニュピュレーター(ギズモ)のライブラリ。
https://github.com/CedricGuillemet/ImGuizmo
https://github.com/ocornut/imgui/issues/346
https://github.com/ocornut/imgui/issues/306
https://github.com/ocornut/imgui/issues/351
https://github.com/nem0/lumixengine
https://github.com/nem0/LumixEngine/blob/timeline_gui/external/imgui/imgui_user.inl
https://github.com/mikesart/gpuvis
https://github.com/ocornut/imgui/issues/261
https://github.com/ocornut/imgui/issues/1083
http://qiita.com/Ushio/items/827cf026dcf74328efb7
まともに実装しようとするとコマンドシステムを自前で構築するしかなさそう。
https://github.com/patrickriordan/imgui_lua_bindings